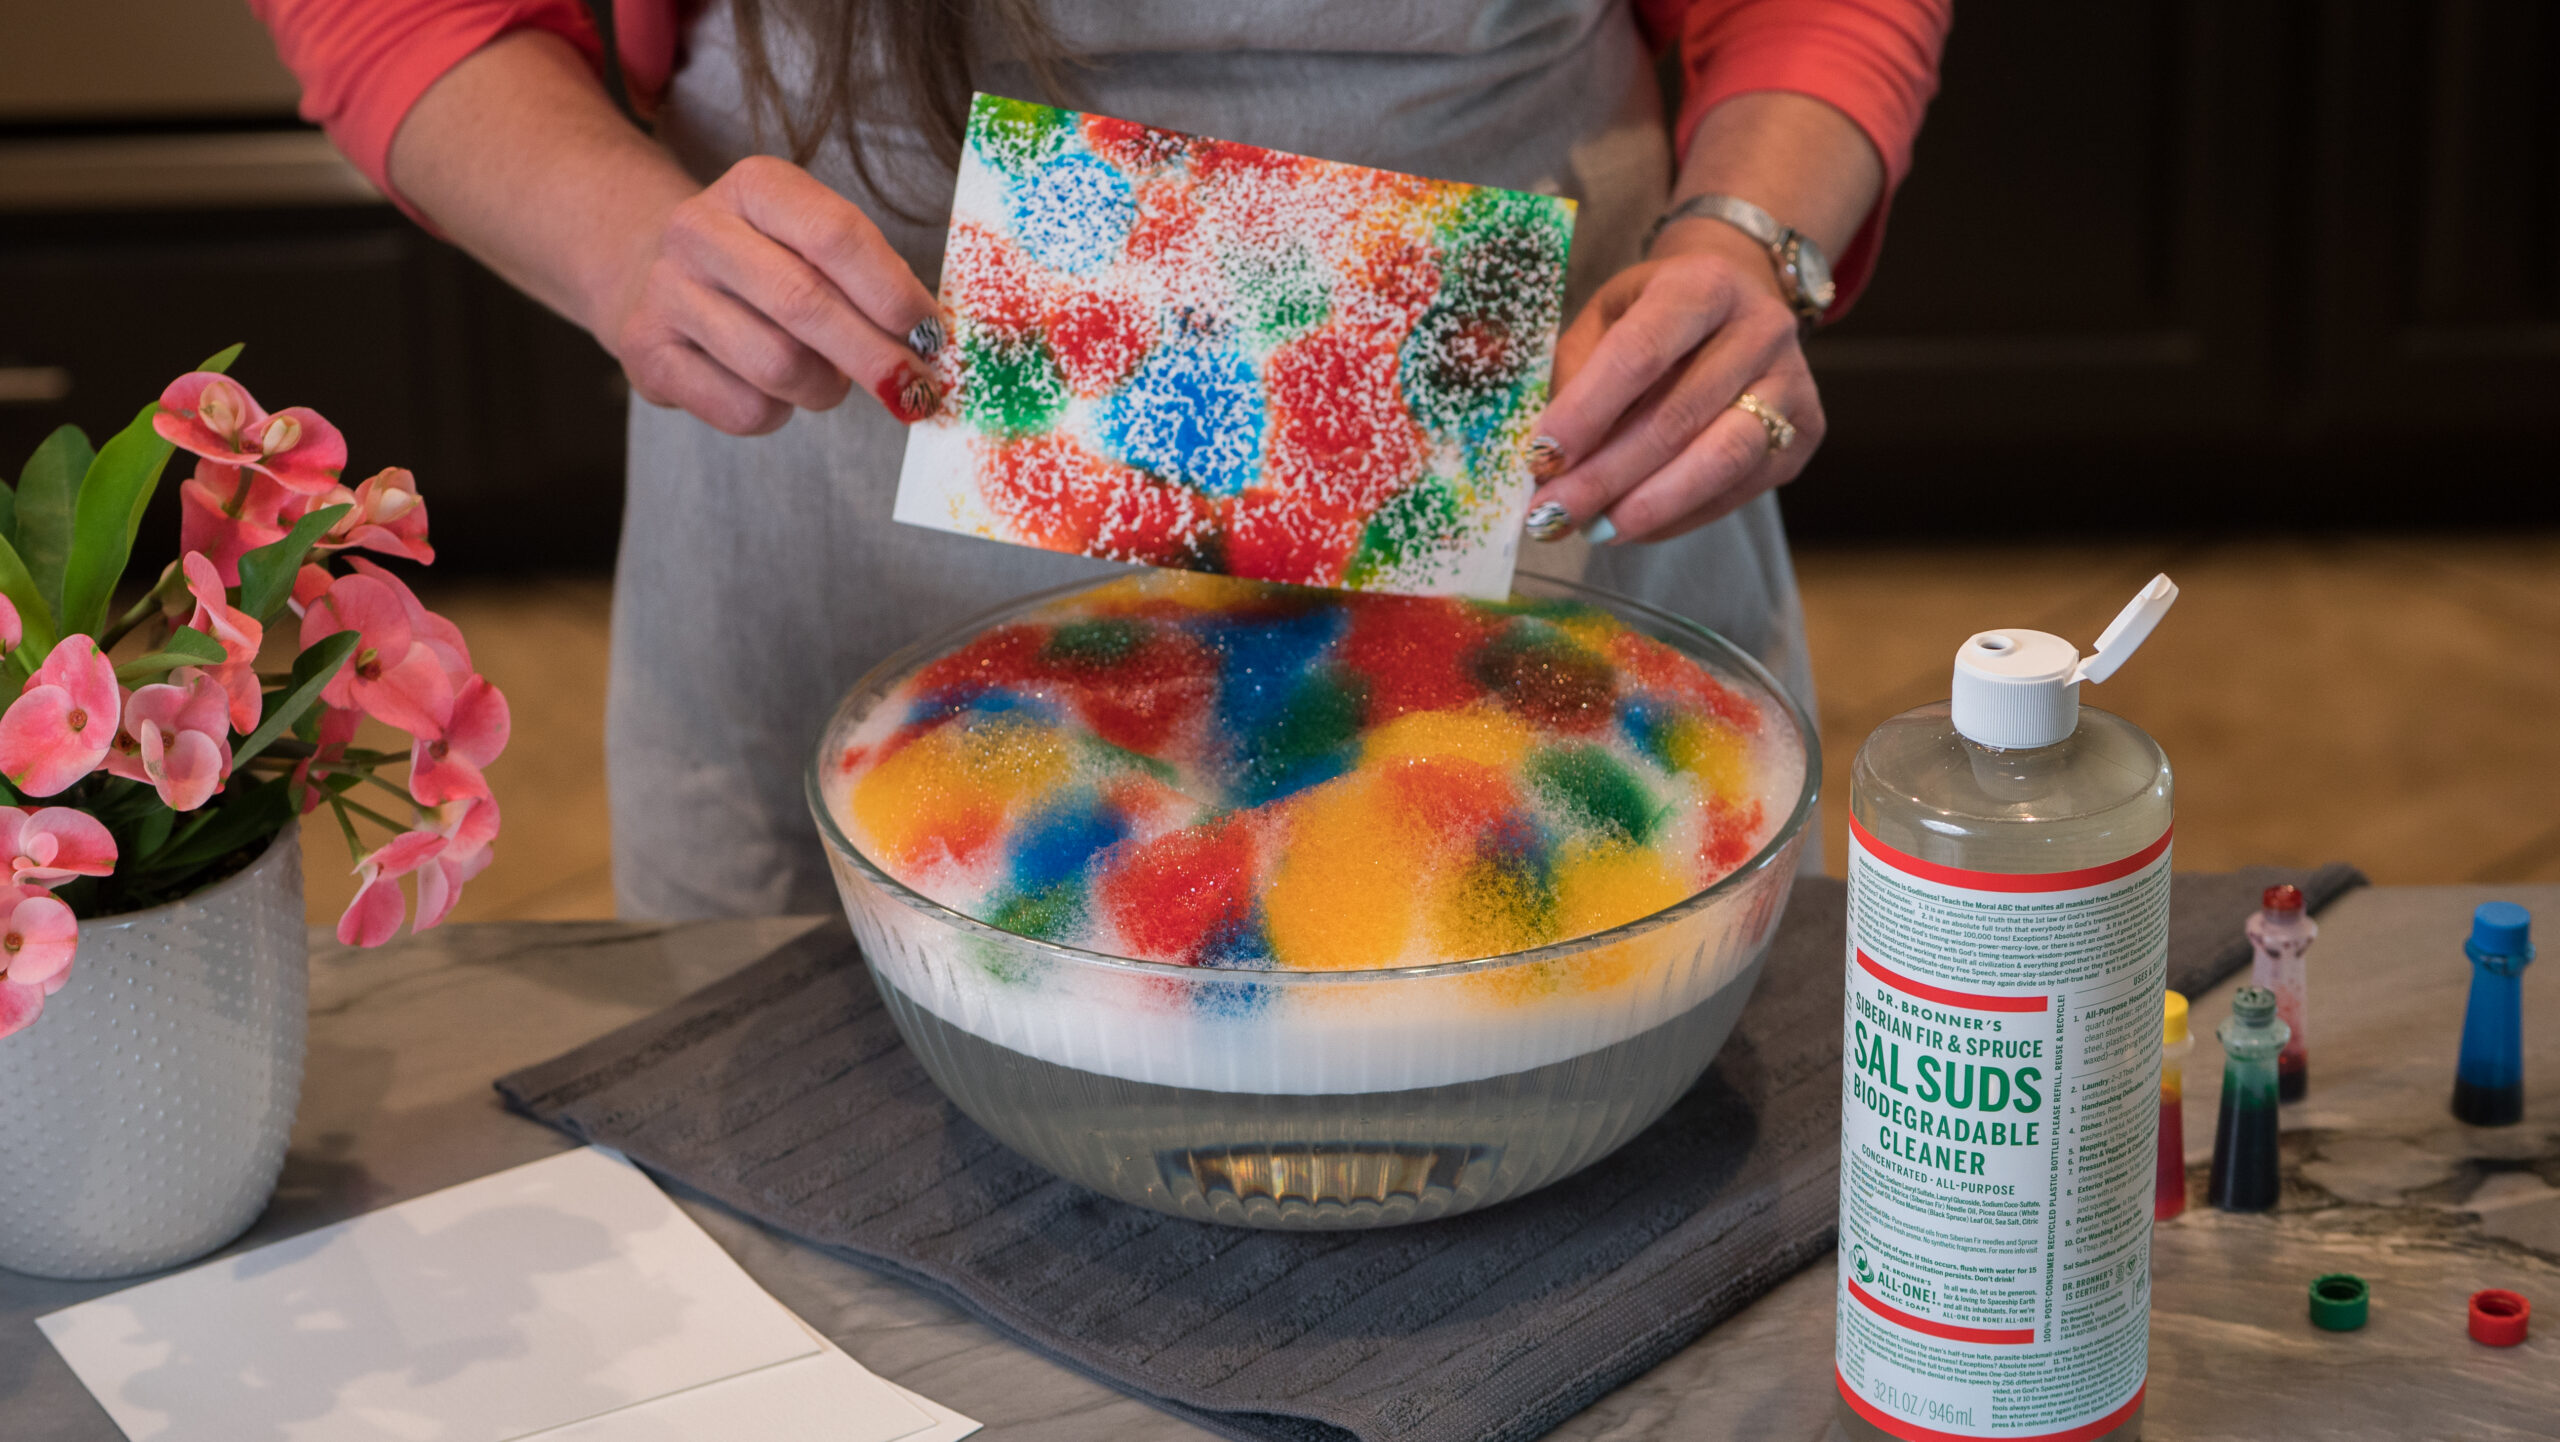
How many times have you asked yourself, “How can I incorporate more bubble fun into my life?” Just me?
It’s probably something in my blood. After all, my dad-the-inventor’s professional specialty was foam. He worked with bubbles for a living. He developed foams for drift control in agriculture, in wildfire suppression, chemical fume containment, and then of course there’s his Sno-Foam, originally for movie and TV special effects and now the centerpiece of the Magic Foam Experience at Dr. Bronner’s.
Maybe my affinity for bubbles is my way of connecting with my dad’s legacy. When I came across this idea for dyeing paper with bubbles, I knew this was for me. It’s fun, beautiful, and useful.
I first made this paper with my kids when they were 7, 5, and 1. (Ok, so the baby didn’t really help . . . or have any idea what was happening at the time.) We were about to take a 2,000-mile road trip from San Diego to Winnipeg, Canada. We used this colored paper to make covers for the kids’ road trip journals and some bookmarks for their road reading. (If anyone wants ideas for keeping kids enthusiastic about the journey over 2,000, let’s talk!)
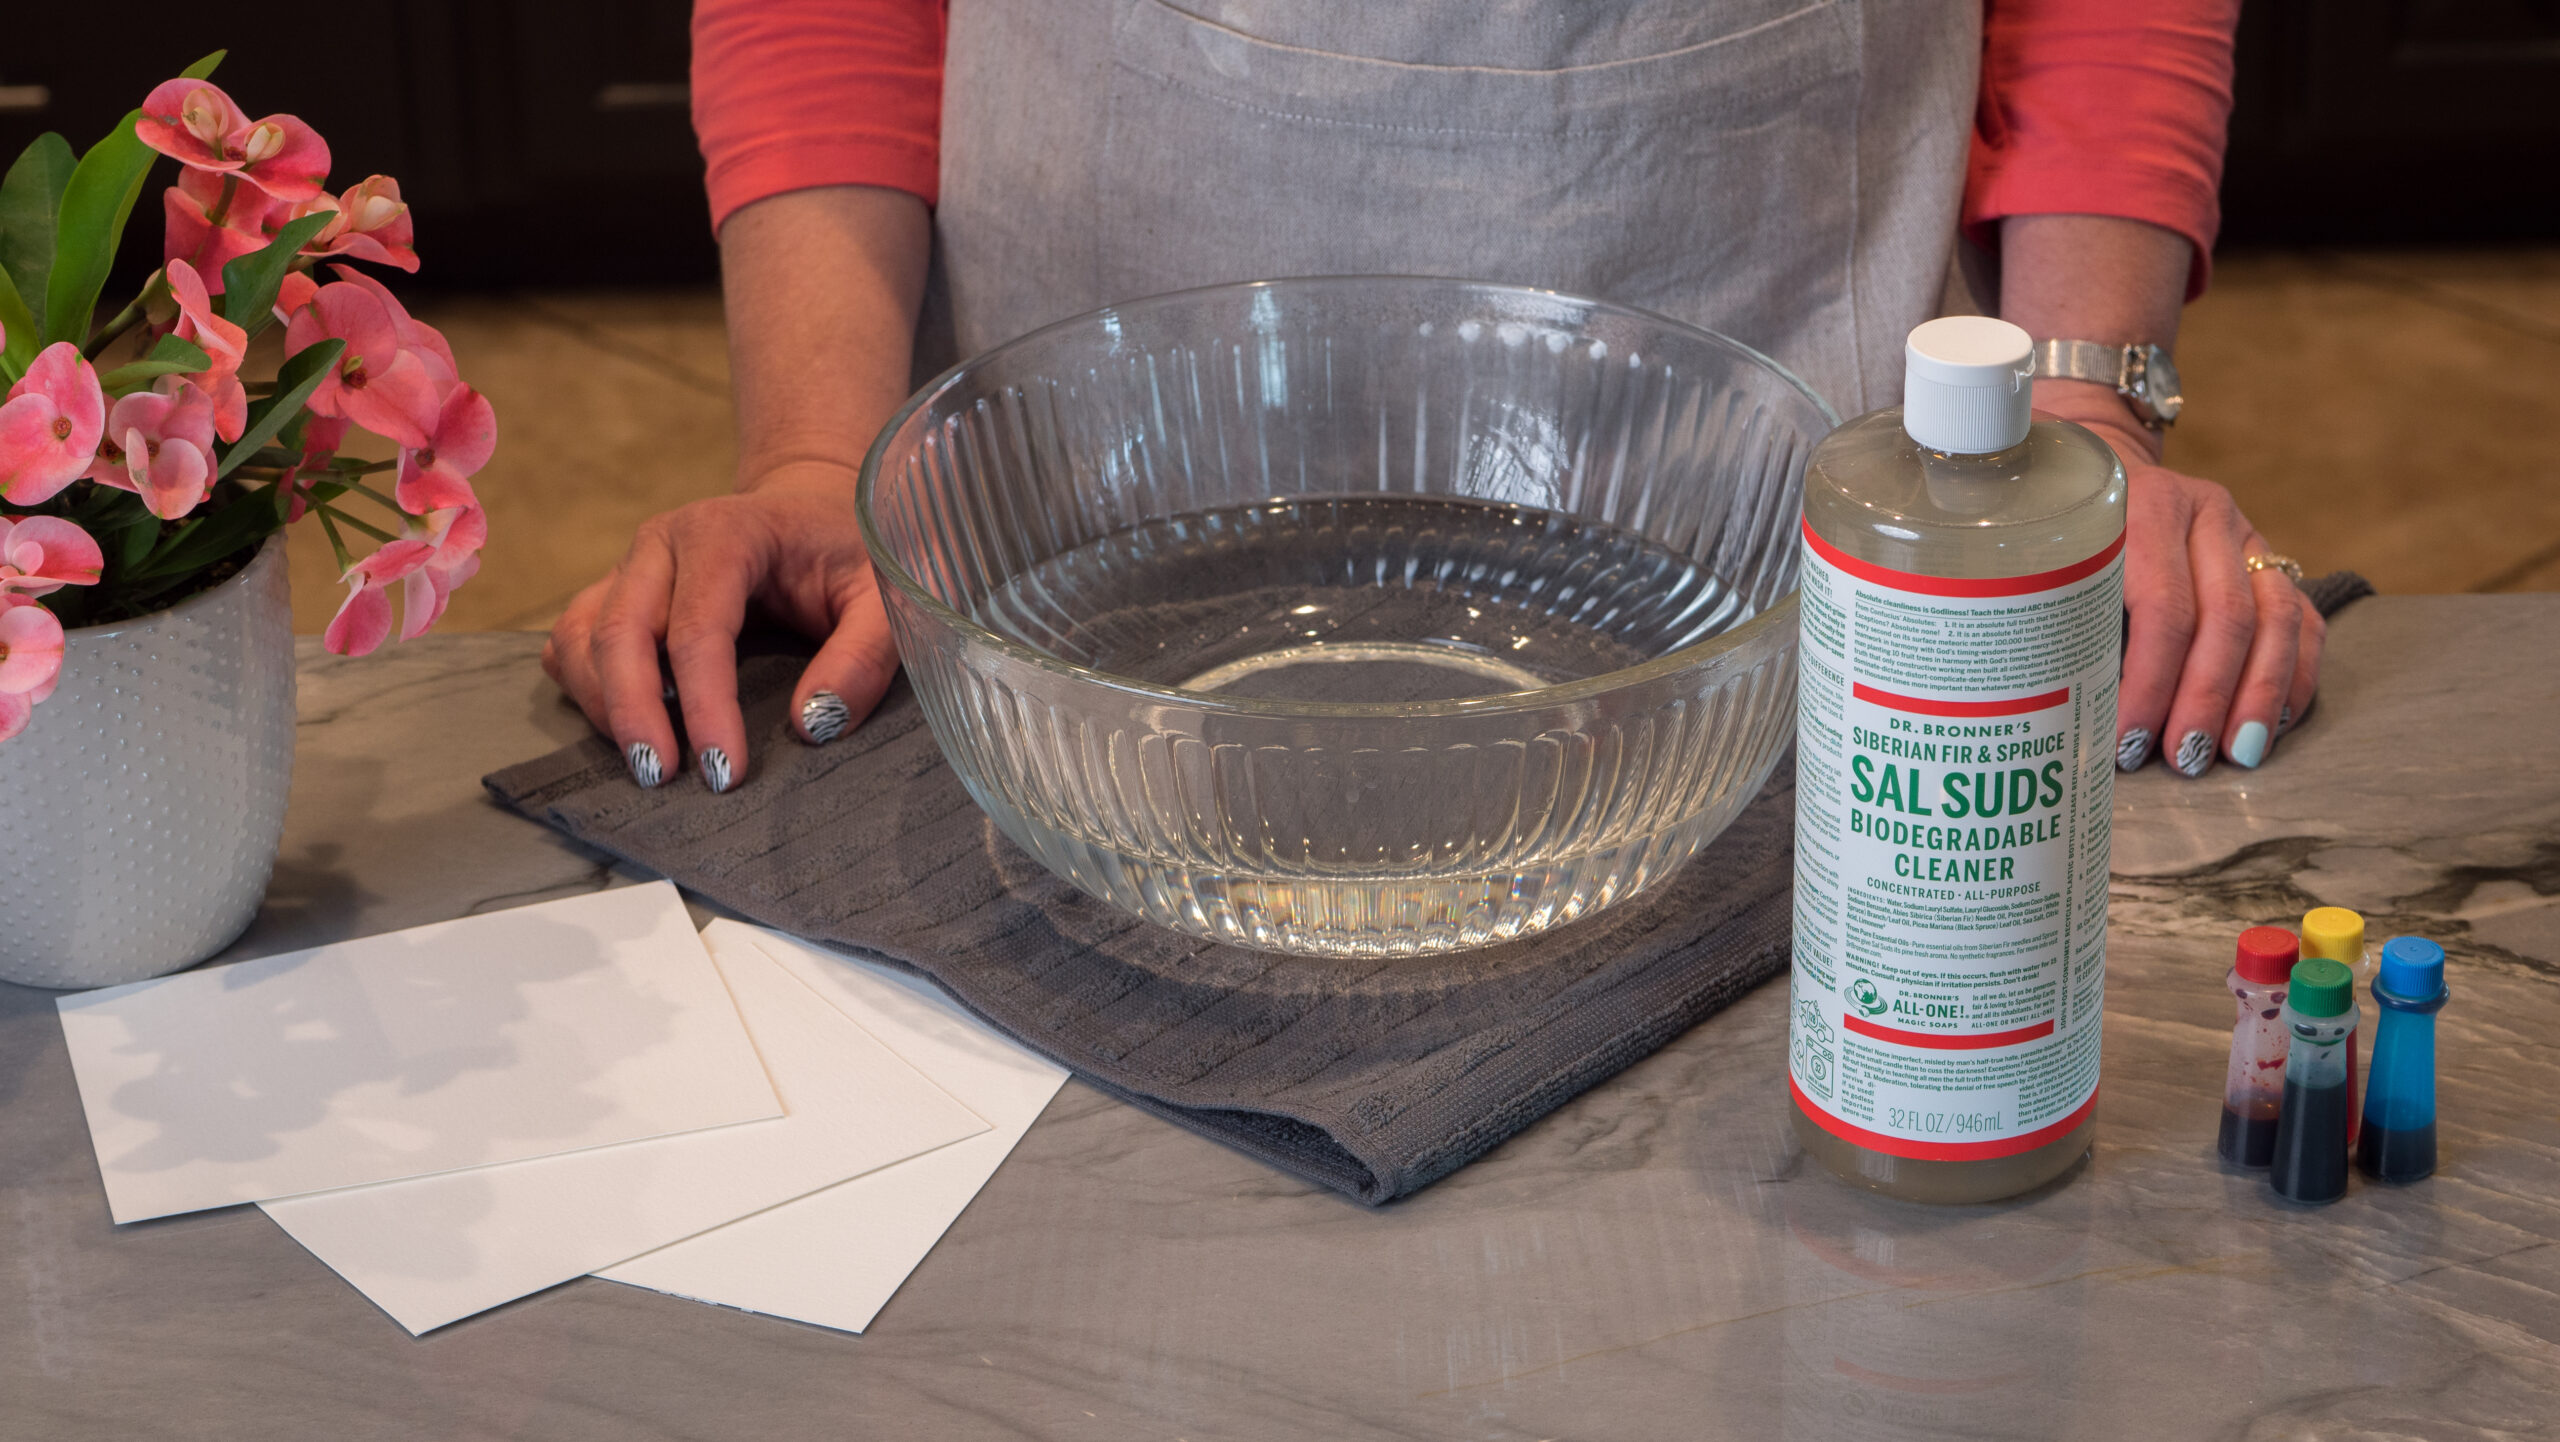
What you will need for bubble-dyed paper
- 2 tablespoons (30 ml) Dr. Bronner’s Sal Suds.
- Water to fill the bowl/pan/sink a couple inches deep.
- Several colors of ink or food coloring.
- Watercolor paper, or other absorbent paper.
- A large bowl or pan, or even a stoppered sink.
- A straw (optional).
How to dye paper with bubbles:
Step 1: Begin by adding Sal Suds to the flat pan, large bowl, or stoppered sink. Add water in a splashy way to produce copious bubbles. Little ones love this part! Who am I kidding? Big ones love this part, too!
If you need to oomph up your bubble volume, use a straw to blow steadily under the surface of the water. Create a mound of bubbles about 3 inches (76 mm) tall.
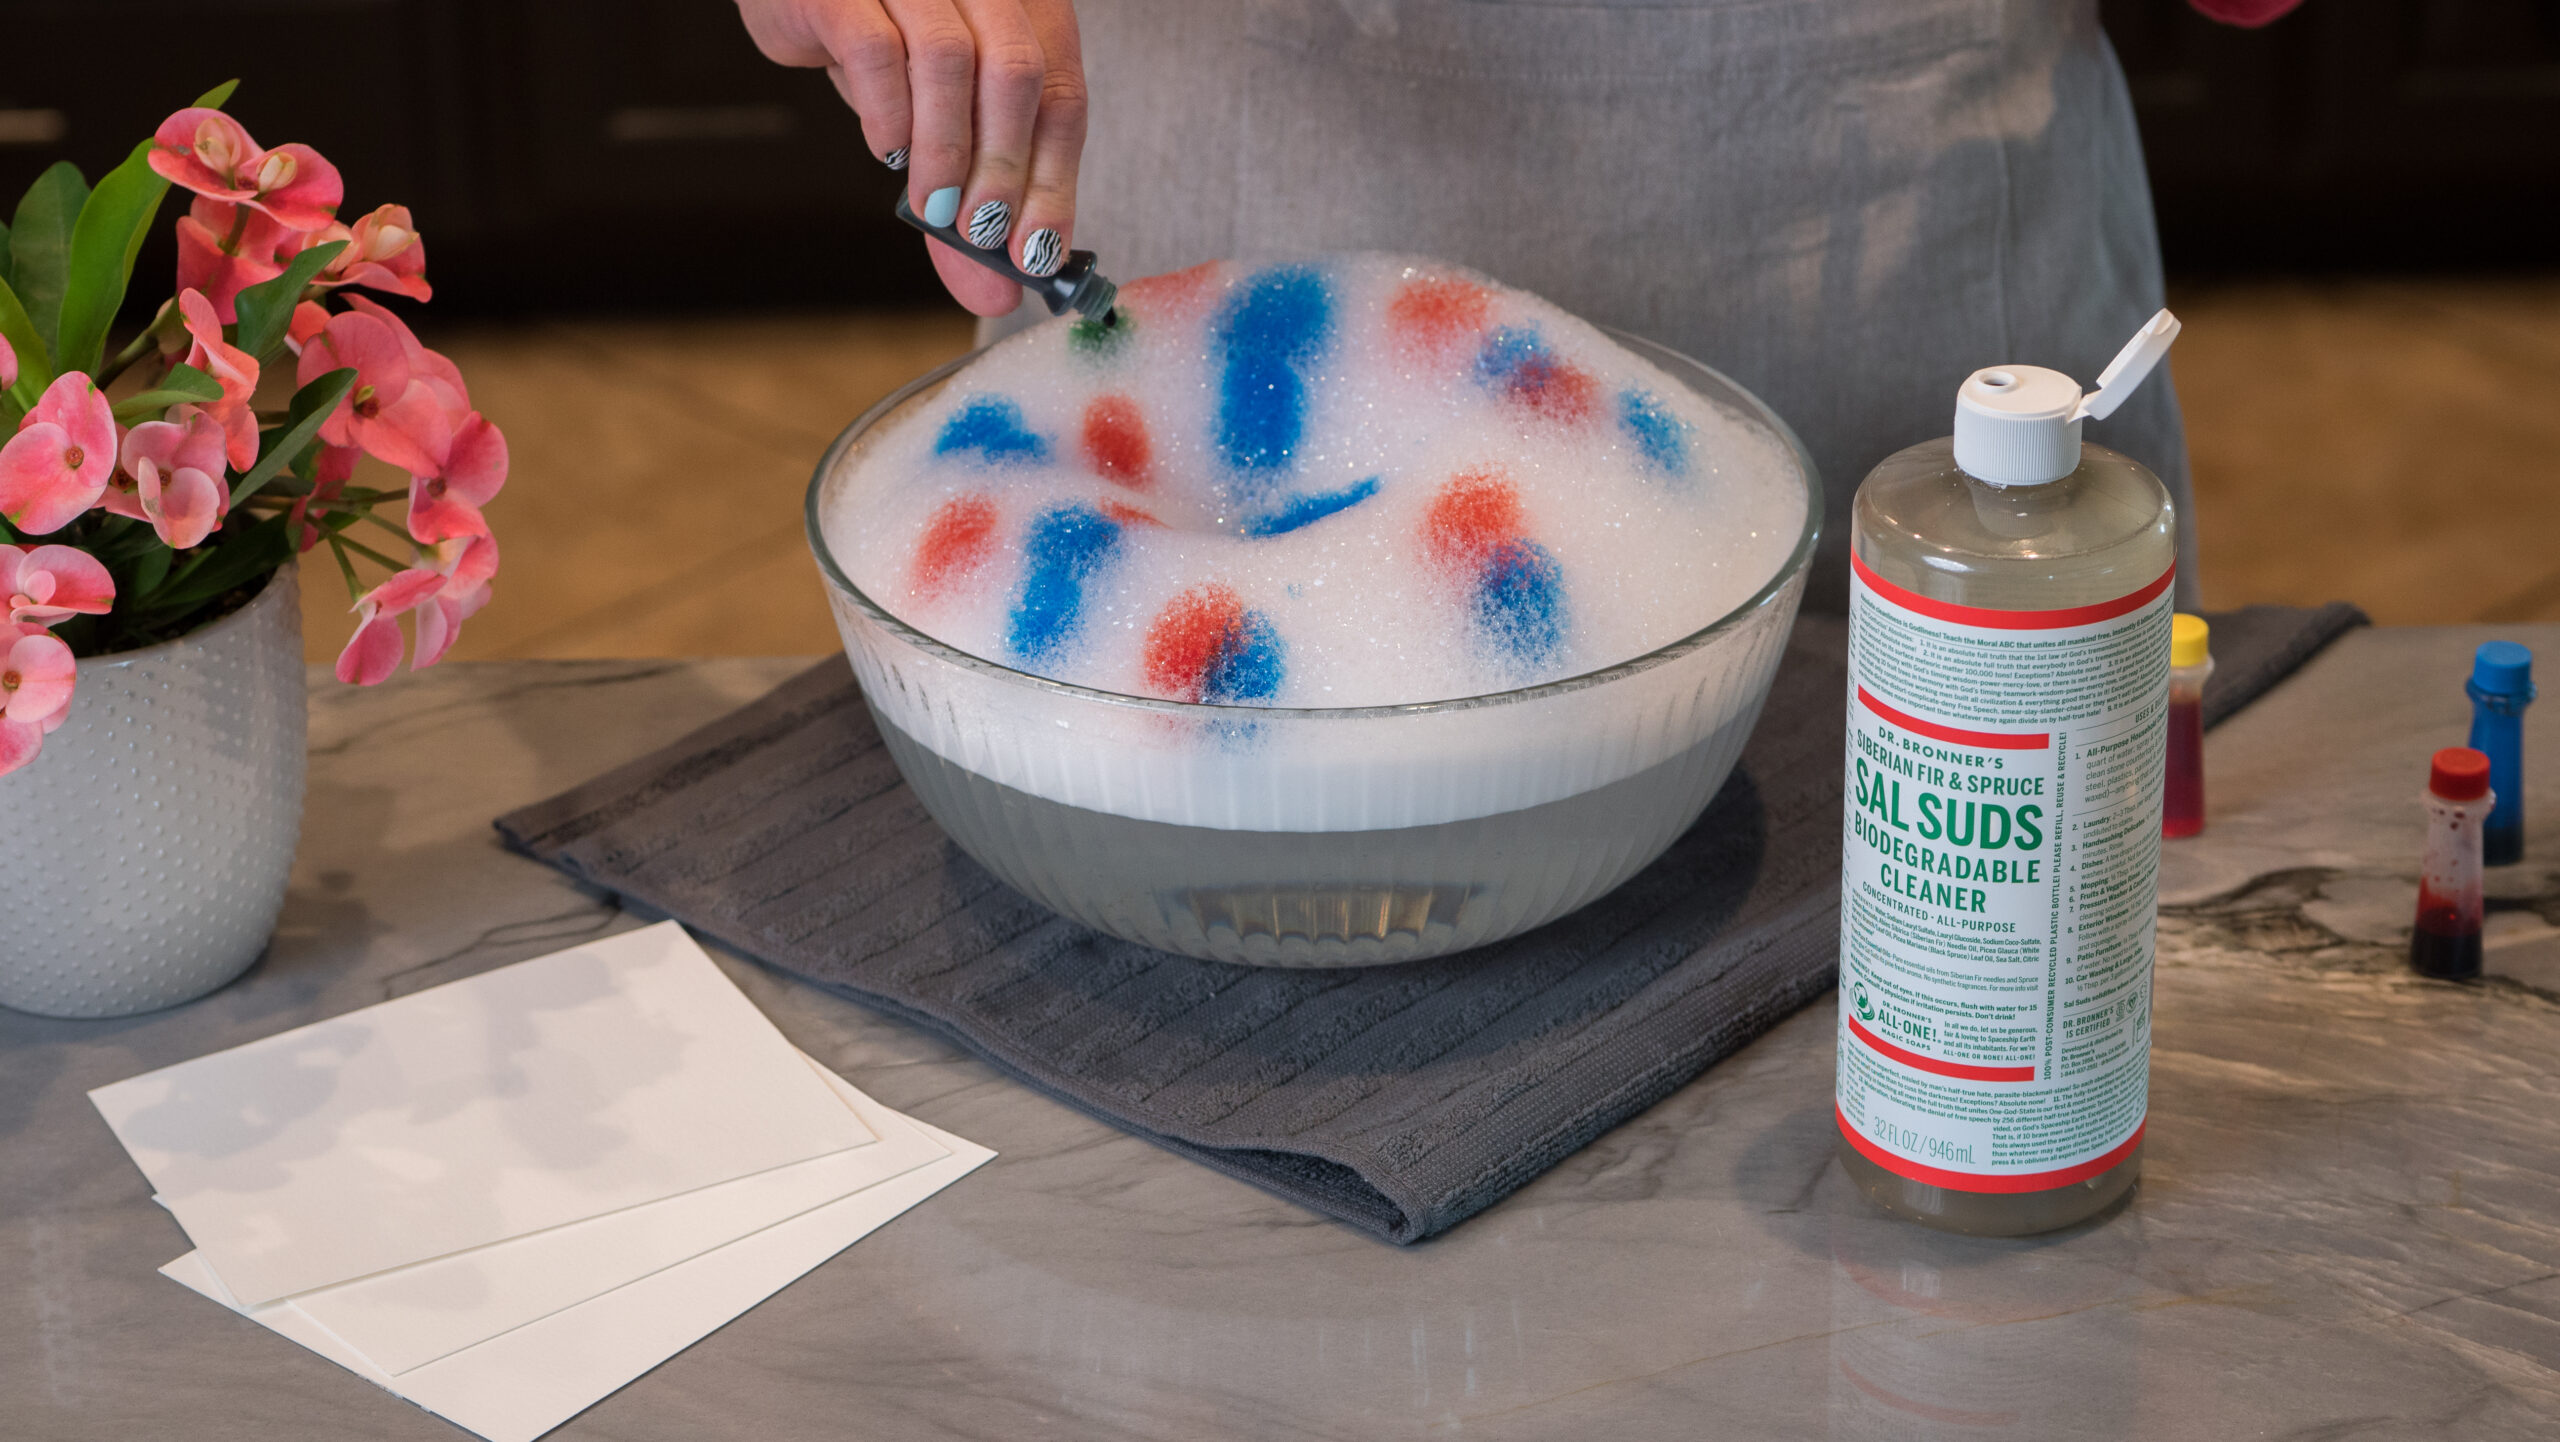
Step 2: Gently sprinkle colors of ink or food coloring over the bubbles.
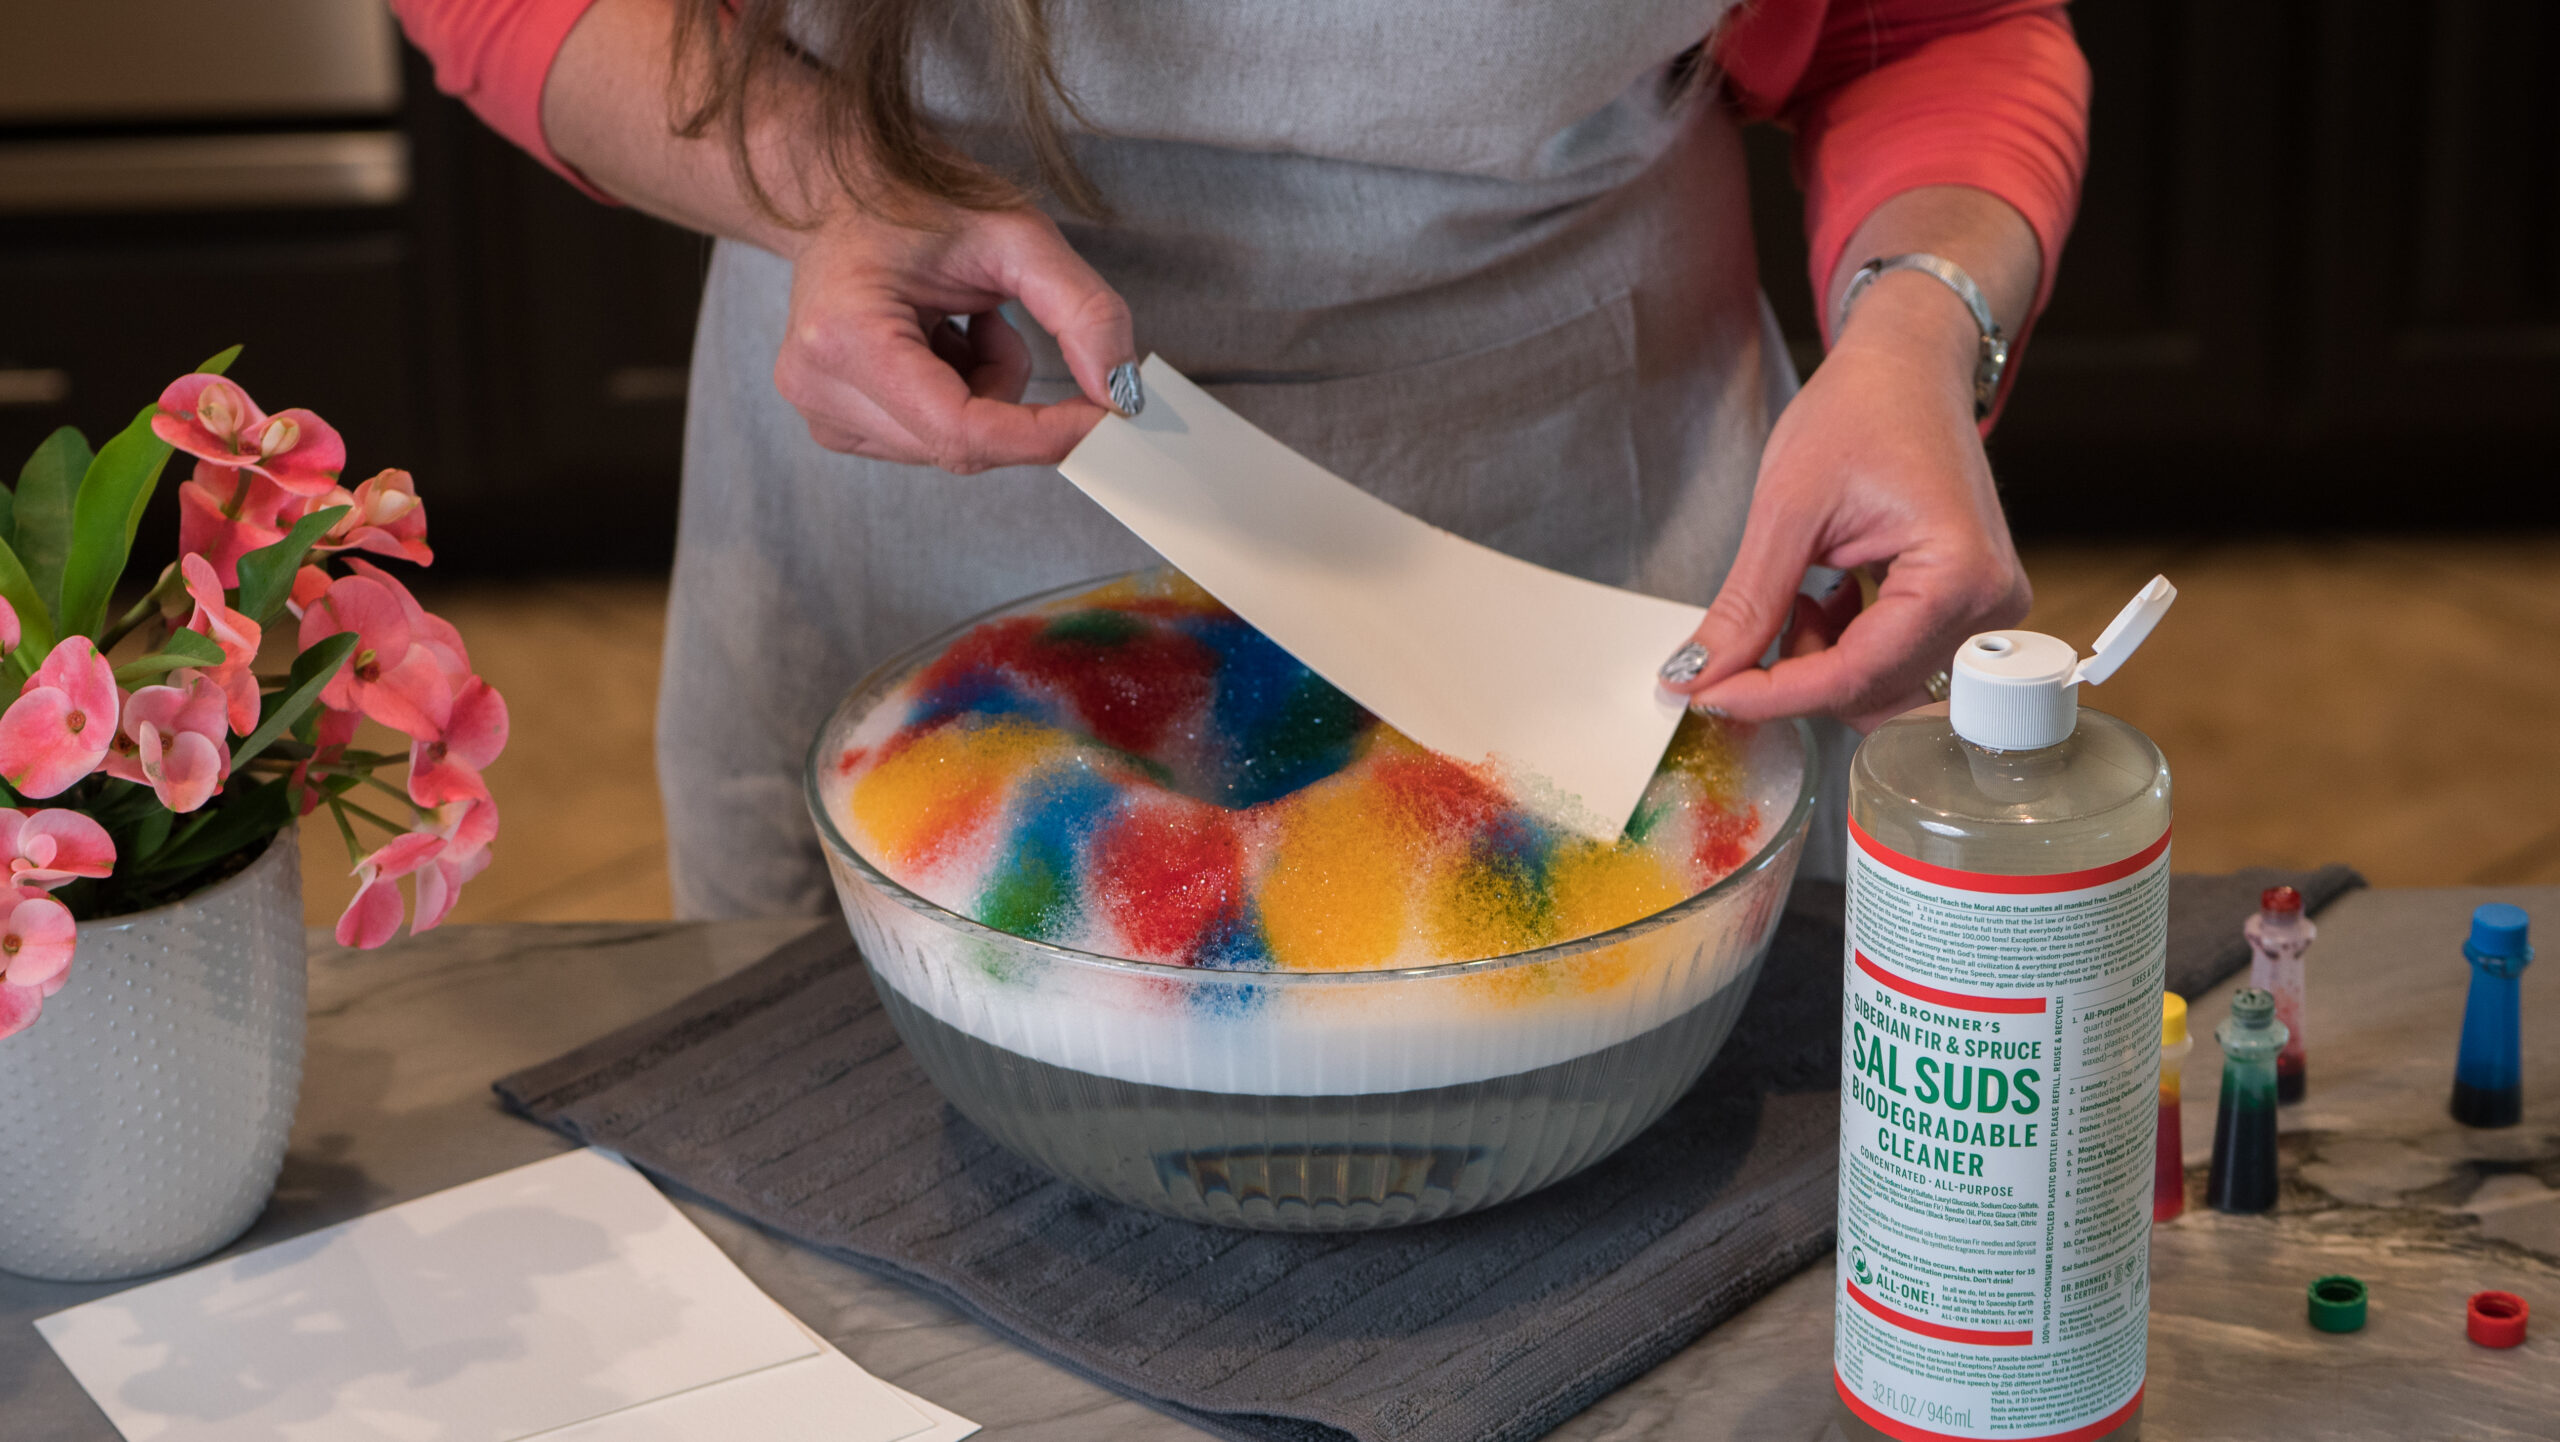
Step 3: Place the paper lightly over the colored bubbles—just so that the paper touches the surface of the bubbles. Don’t let go of the paper and take care to not let the paper touch the water—only the bubbles.
Press the paper over different sections of the colored bubbles to apply the colors across the paper as desired. It does not need to be fully bubbled. Experiment with lots of colors, colors just along the edges, colors on one side to leave space for a message—whatever suits your fancy!
Alternately, you can scoop the bubbles onto the paper for a denser, more swirled look.
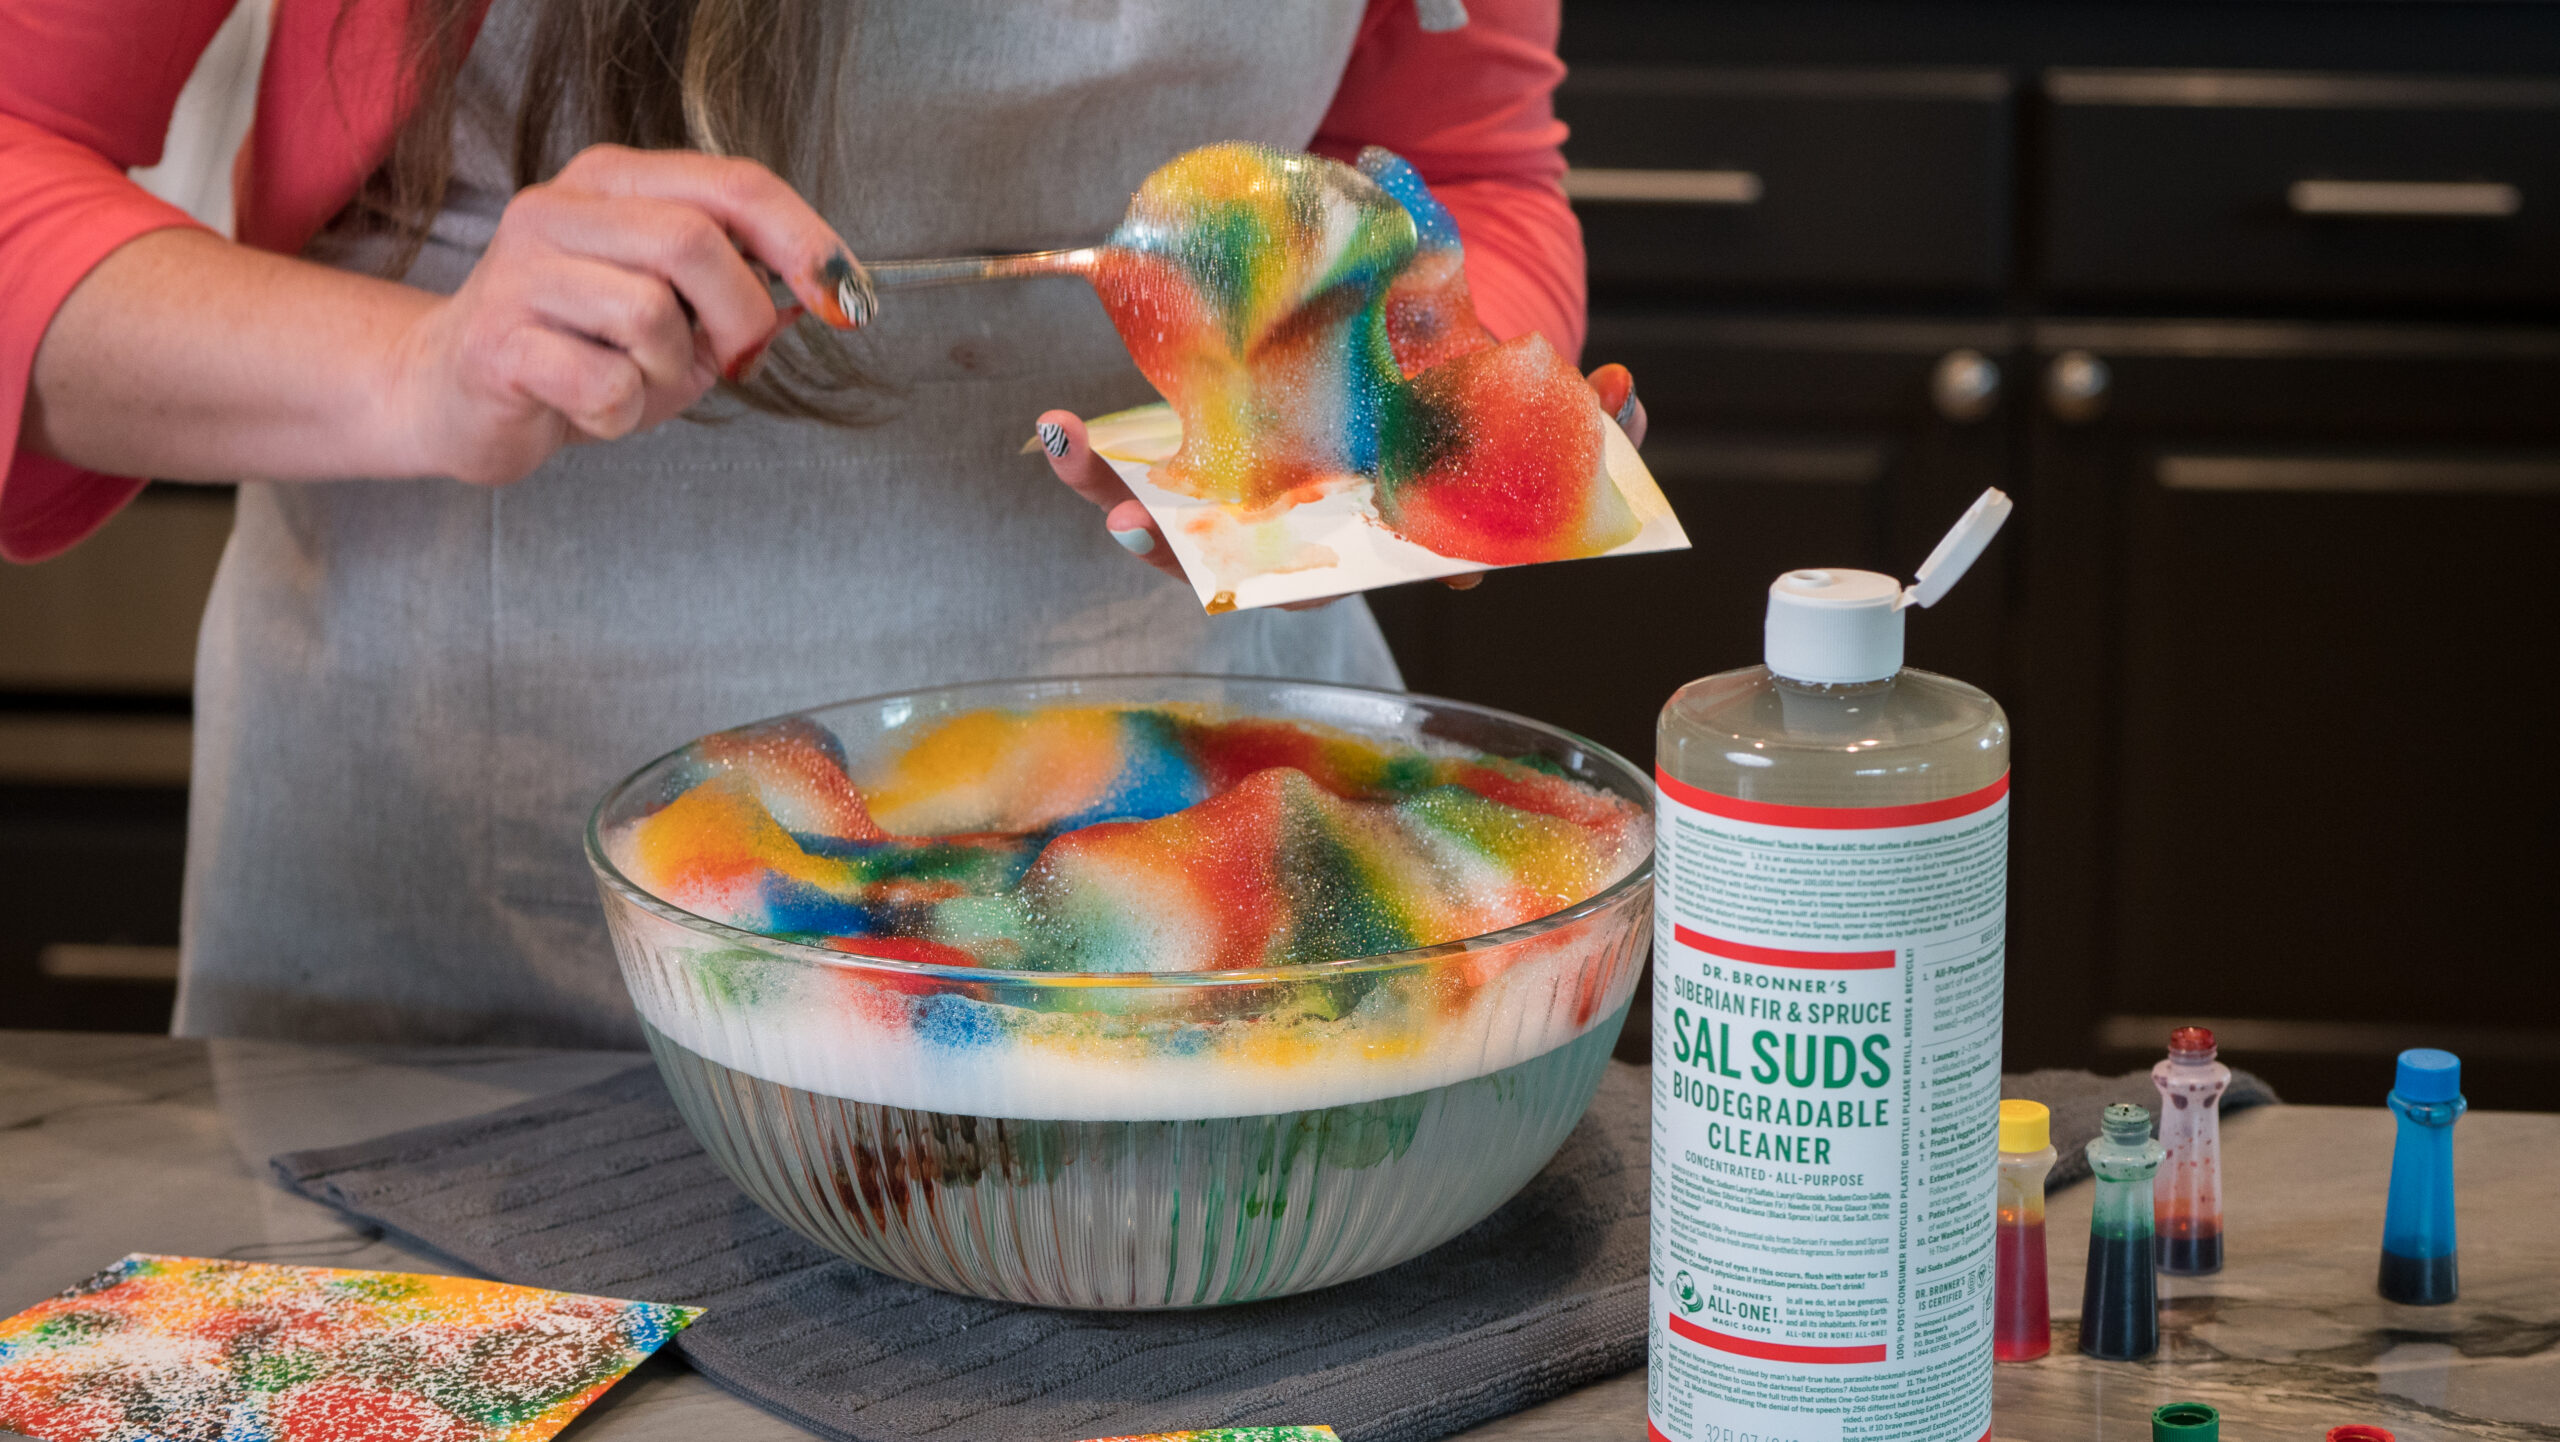
Step 4: Once the paper is bubbled and colored to your satisfaction, lay it flat to dry.
Show your creation off to anyone nearby! I’ll tell you this is a bit addictive. I was definitely looking for more paper or other objects to dye. Good thing my white cats were out of sight!
The leftover swirly suds are pretty fantastic in themselves. I didn’t find a further use for them, though. Any ideas?
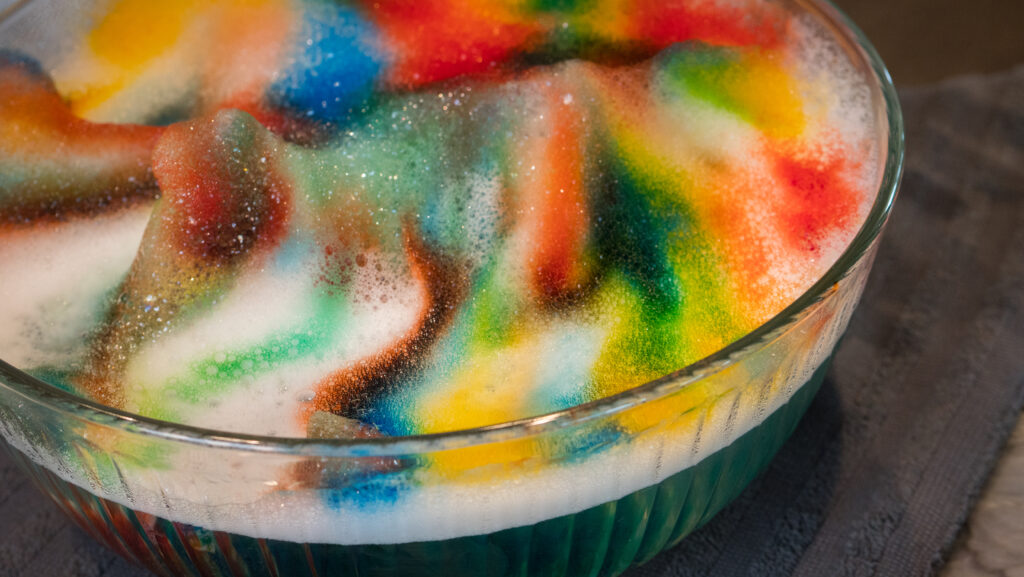
Final steps in the bubble-dyeing process
Once your beautifully dyed paper is fully dry, you’re ready to create the rest of your masterpiece. Here are some things you can make with the dyed paper.
- Notecards and envelopes
- Wrapping paper
- Framing mats
- Artwork on its own
- Journal or notebook covers
- Scrapbook decorations
- Bookmarks
- Paper flowers or other paper art
- Gift tags
- Signs and banners
- Laminated to use as a placemat
Can I use Castile Magic Soap to dye paper?
This is one of the rare instances that I recommend using the Dr. Bronner’s Sal Suds instead of the Castile Magic Soap. The key feature needed are the suds and Sal Suds does have an edge over the Castile Magic Soap in the bubbling department.
Dyeing with bubbles does not require kids
You may have noticed that in the list of supplies, I did not include children. They’re not required for this activity.
I’ll let you in on a little secret. Having my own kids reopened my eyes to all the fun stuff kids get to do. However, now that they’re older, and not quite as interested in activities with their mom like this, I still find it fun to do all these “kid” things. And I’m much better at them now than I was as a kid or a frazzled mom of young kids.
So go ahead! Play with bubbles! Get a little dye on your fingers! You’ll find it’s a wonderful way to spend an afternoon.
And definitely send me some pictures of your bubble-dyed paper creations!
Further reading
- GIY Bubble Solution with Dr. Bronner’s
- 15 Ideas for Consumable, Sustainable, and Homemade Gifting
- How to Clean Baby and Kid Gear
Sal Suds cleaner shows >60% biodegradation after 28 days per ISO 14593.



I must try this! I wonder… would this work on, say, a white cotton tee shirt??? Or make a colorful scarf?
Hi Carolyn – These are great ideas! Your success would depend on how colorfast the ink/food color/dye was. It might be best to use actual fabric dye in place of the food color. I am curious to see what you come up with! Please share any pics!